If you’ve ever wondered how to tackle the issue of thinning hair or baldness, look no further than scalp micropigmentation. This innovative technique has gained popularity over the years as a non-invasive solution to hair loss. Our comprehensive guide takes you through the various techniques and trends in scalp micropigmentation, providing you with the information you need to make an informed decision about this transformative procedure. From understanding the different pigmentation methods to exploring the latest trends in the industry, this article will equip you with the knowledge to embark on your own hair restoration journey. Say goodbye to hair loss concerns and hello to a confident new you with scalp micropigmentation!
Understanding Scalp Micropigmentation
Scalp micropigmentation is a non-surgical and non-invasive procedure that involves injecting pigments into the scalp to replicate the appearance of hair follicles. It is a highly effective solution for individuals experiencing hair loss or thinning hair, providing them with the illusion of a fuller head of hair.
What is scalp micropigmentation?
Scalp micropigmentation, also known as SMP, is a cosmetic technique that uses micro-needles to deposit specialized ink pigments into the scalp. These pigments are matched to the individual’s hair color and skin tone, creating the illusion of hair follicles that blend seamlessly with their natural hair.
How does scalp micropigmentation work?
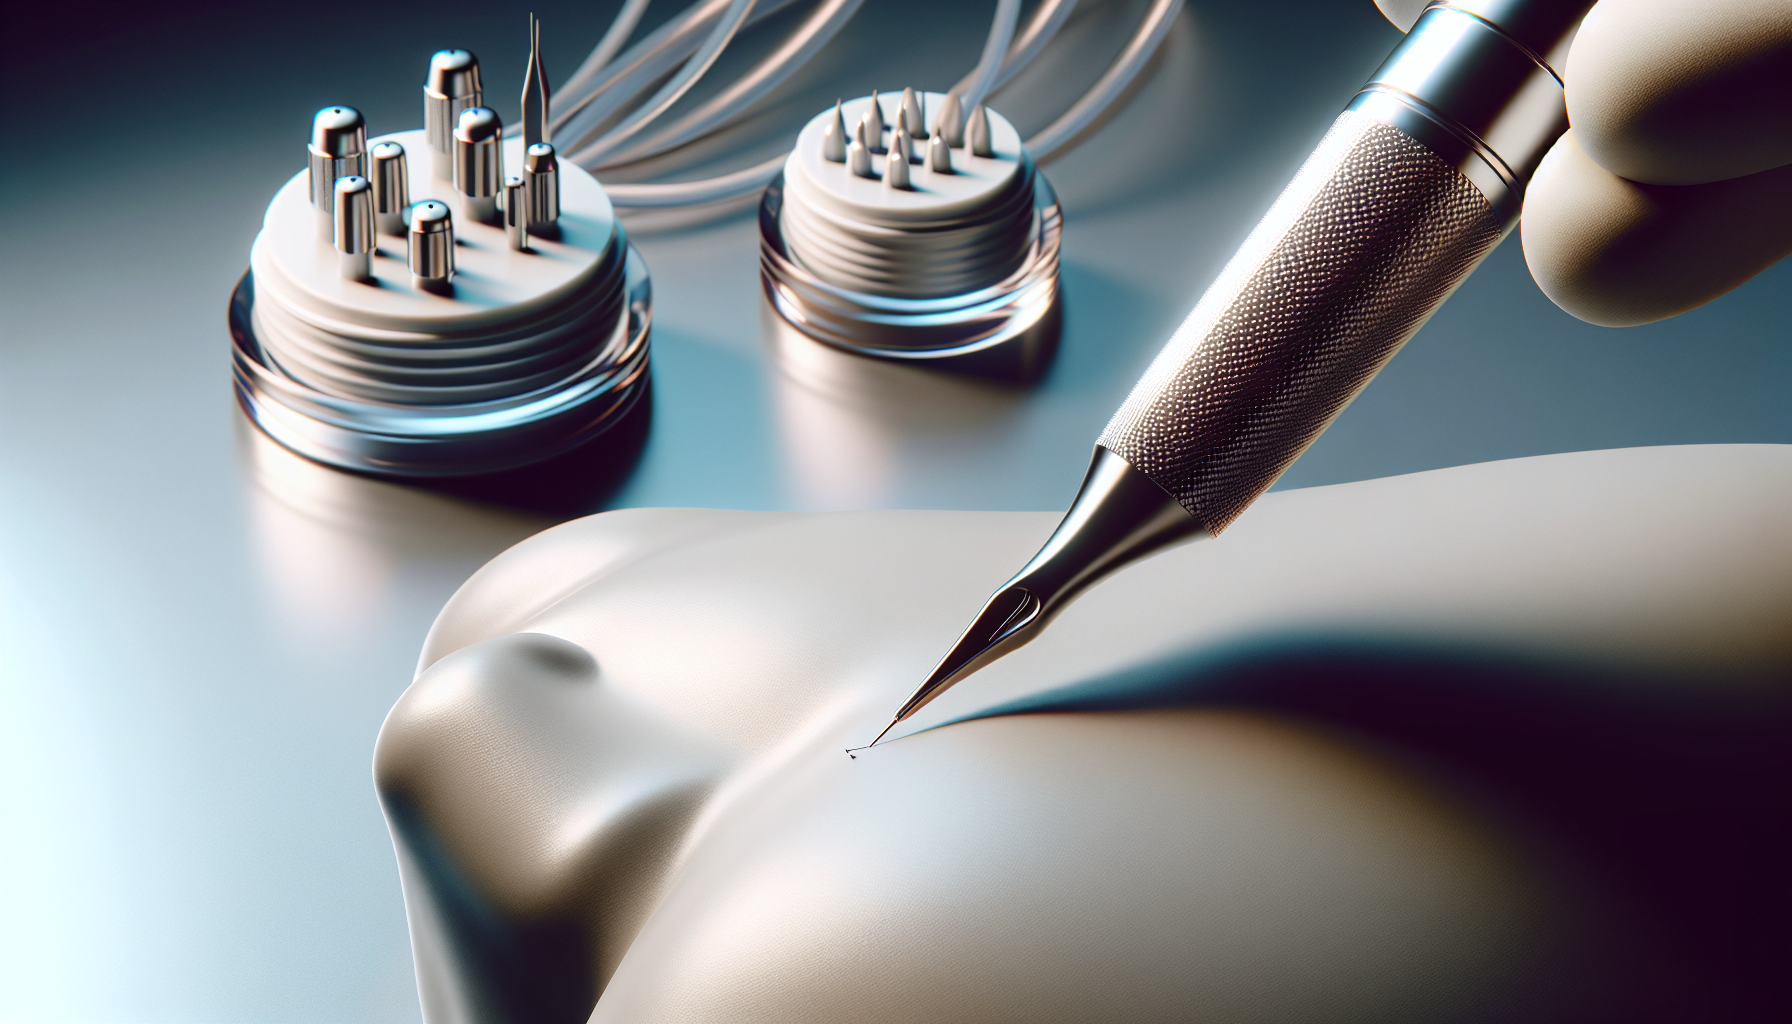
During the scalp micropigmentation procedure, a trained artist uses a micro-needle to apply the specialized ink pigments into the upper layer of the scalp. The tiny dots of pigment replicate the appearance of hair follicles, giving the illusion of a full head of hair. The artist carefully considers factors such as hair color, skin tone, and desired hairline shape to ensure the most natural-looking results.
Benefits of scalp micropigmentation
There are numerous benefits to choosing scalp micropigmentation as a solution for hair loss or thinning hair. Firstly, it provides an immediate and long-lasting solution, unlike other treatments that may require months to show results. It is also a non-surgical and non-invasive procedure, meaning there is no need for incisions or anesthesia. Additionally, scalp micropigmentation is suitable for both men and women, and it can help individuals with various hair loss conditions, including alopecia and genetic hair loss.

Different Techniques Used in Scalp Micropigmentation
Scalp micropigmentation artists utilize different techniques to achieve the desired results. These techniques include traditional scalp micropigmentation, follicular unit extraction (FUE), and scalp microblading.
Traditional scalp micropigmentation
The traditional scalp micropigmentation technique involves the process of depositing small dots of pigment into the scalp to mimic the appearance of hair follicles. This technique is suitable for individuals with any stage of hair loss and offers a natural and realistic look.
Follicular unit extraction (FUE)
Follicular unit extraction (FUE) is a technique that involves extracting individual hair follicles from the scalp using a specialized tool. These hair follicles are then transplanted into the scalp to create a fuller look. This technique is often used in combination with scalp micropigmentation to achieve a more natural and dense appearance.
Scalp microblading
Scalp microblading is a technique that involves using a handheld microblade to deposit pigments into the scalp. This technique is ideal for individuals with lighter hair colors or those who desire a softer and more natural-looking hairline.

Choosing the Right Scalp Micropigmentation Artist
When considering scalp micropigmentation, it is essential to choose a skilled and experienced artist who can provide the best results. Here are some key steps to follow when selecting the right artist:
Researching the artist’s portfolio
Take the time to review the artist’s portfolio and examine their past work. Look for consistency in their results and assess whether their style aligns with your desired outcome.
Reading client reviews and testimonials
Reading client reviews and testimonials can provide valuable insights into the artist’s professionalism, skills, and customer satisfaction. Pay attention to any negative feedback and determine if it is of concern for your specific needs.
Consultation and communication with the artist
Schedule a consultation with the artist to discuss your expectations, concerns, and desired results. This interaction will help you gauge their expertise and determine if they understand your vision. Clear communication is vital to ensure you are both on the same page.
Preparing for a Scalp Micropigmentation Procedure
Before undergoing a scalp micropigmentation procedure, there are a few essential steps to follow to ensure the best possible outcome.
Choosing the desired hairline shape
One of the crucial decisions you will make is selecting the desired shape of your new hairline. This choice can significantly impact the overall appearance of the procedure, so take your time to consider various options and consult with your artist for their professional advice.
Shave or trim existing hair
To ensure a seamless application of pigments, it is recommended to have any existing hair shaved or trimmed prior to the procedure. This allows the artist to have a clear canvas to work on and ensures better adherence and blending of the pigments.
Taking care of your scalp prior to the procedure
In the days leading up to your scalp micropigmentation procedure, it is important to take good care of your scalp. Keep it moisturized, avoid excessive sun exposure, and refrain from using any harsh chemicals or dyes on your hair. These steps will ensure a healthy and receptive scalp for the procedure.
The Scalp Micropigmentation Procedure
During the scalp micropigmentation procedure, the artist follows a carefully planned process to achieve the desired results.
Application of the pigment
The artist will begin by using a micro-needle to apply the specialized pigment to the upper layer of the scalp. They will create tiny dots, mimicking the appearance of hair follicles. The pigment is matched to your natural hair color and skin tone, ensuring a realistic and natural look.
Building the desired density
Once the initial layer of pigment is applied, the artist will assess the overall density and make adjustments as needed. They may add additional layers of pigment to create a denser appearance, focusing on areas that require additional coverage.
Creating a natural-looking hairline
The final step of the procedure involves creating a natural-looking hairline. The artist will carefully design and shape the hairline, taking into consideration factors such as age, facial features, and personal preferences. Attention to detail is crucial to achieve a hairline that looks authentic and complements your appearance.
Aftercare Tips for Scalp Micropigmentation
Proper aftercare is essential to ensure the longevity and quality of your scalp micropigmentation results. Here are some important tips to follow:
Avoiding sun exposure and tanning beds
Exposure to the sun’s UV rays can cause the pigments to fade or change in color over time. It is important to protect your scalp by wearing a hat or using sunscreen with a high SPF. Avoiding tanning beds is also recommended, as the UV exposure can have similar effects.
Properly washing and moisturizing the scalp
Scalp hygiene is crucial after the procedure. Use mild, non-irritating shampoos and wash your scalp gently, avoiding any rubbing or scrubbing. After washing, apply a moisturizer specifically designed for the scalp to keep it hydrated and prevent dryness or flakiness.
Avoiding strenuous activities and excessive sweating
In the days following the procedure, it is advisable to avoid strenuous activities that may cause excessive sweating. Sweating can affect the healing process and may cause the pigments to disperse or fade. Listen to your artist’s instructions on when it is safe to resume normal activities.
Maintenance and Longevity of Scalp Micropigmentation
While scalp micropigmentation is a long-lasting solution, regular maintenance is necessary to keep the results looking their best.
Frequency of touch-up sessions
Over time, the pigments may fade or disperse slightly, requiring touch-up sessions to maintain the desired appearance. The frequency of touch-ups can vary depending on factors such as skin type, sun exposure, and personal preferences. A common recommendation is to schedule touch-up sessions every 2-4 years.
Using recommended hair care products
To ensure the longevity of your scalp micropigmentation, it is important to use hair care products that are specifically designed for maintaining the pigments. Avoid shampoos and conditioners that contain harsh chemicals or sulfates, as they can cause the pigments to fade or become discolored.
Protecting the scalp from harsh chemicals or dyes
When dyeing or coloring any remaining hair, it is essential to protect the scalp and the pigmented areas. Harsh chemicals or dyes can negatively impact the pigments, causing them to fade or change color. Consult with your artist or a hair professional for the best practices and products to use when coloring your hair.
Trends in Scalp Micropigmentation
As scalp micropigmentation continues to gain popularity, new trends and techniques have emerged to offer even more options to individuals seeking this treatment.
Blended hairline technique
The blended hairline technique aims to create a more natural-looking hairline by softly feathering the pigments into the surrounding areas. This technique helps to mimic the appearance of natural hair growth, providing a seamless transition from the pigmented areas to the existing hair.
Scalp micropigmentation for women
Scalp micropigmentation is not limited to men; it is also an effective solution for women experiencing hair loss or thinning hair. Women can benefit from scalp micropigmentation by achieving the appearance of fuller hair and enhanced confidence.
Creating the appearance of density
With the advancement of techniques, scalp micropigmentation can now create the illusion of dense hair even for individuals with severe hair loss. By tactically applying the pigments and using different shades and densities, artists can achieve remarkable results that provide a natural-looking density.
Potential Risks and Complications of Scalp Micropigmentation
While scalp micropigmentation is generally considered safe, it is important to be aware of potential risks and complications.
Allergic reactions to pigments
Some individuals may be allergic to the pigments used in scalp micropigmentation. It is crucial to undergo a patch test before the procedure to determine if you have any allergies to the pigments. This precautionary measure helps to minimize the risk of adverse reactions.
Infection or complications from improper aftercare
Improper aftercare can lead to infections or complications during the healing process. It is essential to follow the artist’s instructions carefully and maintain good scalp hygiene to minimize the risk of infection or other complications.
Need for touch-ups or corrections
While scalp micropigmentation offers long-lasting results, touch-up sessions may be required to maintain the desired appearance. Additionally, there may be instances where adjustments or corrections are needed to achieve the desired outcome. Working closely with your artist and scheduling regular follow-up appointments can address any concerns or issues that may arise.
Scalp Micropigmentation FAQs
Is the procedure painful?
Most individuals report little to no pain during the scalp micropigmentation procedure. The artist will usually apply a topical numbing agent to minimize any discomfort. Sensitivity levels may vary, so it is important to communicate with your artist about any concerns you may have.
How long does the procedure take?
The duration of the scalp micropigmentation procedure depends on various factors such as the extent of hair loss and the desired outcome. On average, the procedure can take anywhere from 2 to 5 hours. It is advisable to set aside a full day for the procedure to ensure a relaxed and comfortable experience.
Can scalp micropigmentation be reversed?
Scalp micropigmentation is a permanent procedure. While there are techniques to soften or adjust the appearance, it cannot be completely reversed. It is important to carefully consider and discuss your expectations with your artist before undergoing the procedure.
In summary, scalp micropigmentation is a highly effective and non-surgical solution for individuals experiencing hair loss or thinning hair. It offers immediate and long-lasting results, helping individuals regain their confidence and achieve the appearance of a fuller head of hair. By choosing a skilled artist, following proper aftercare, and staying updated on the latest trends, scalp micropigmentation can be a life-changing experience for those seeking a natural-looking and permanent solution to their hair loss concerns.